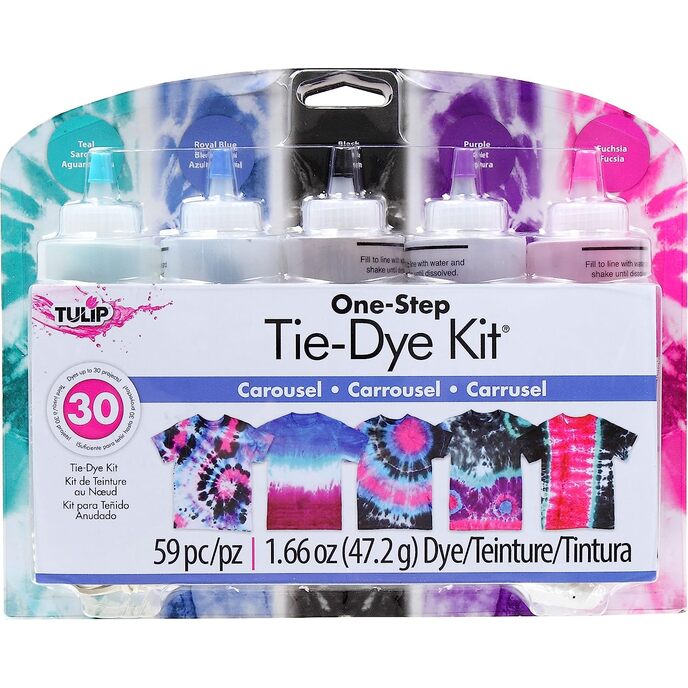
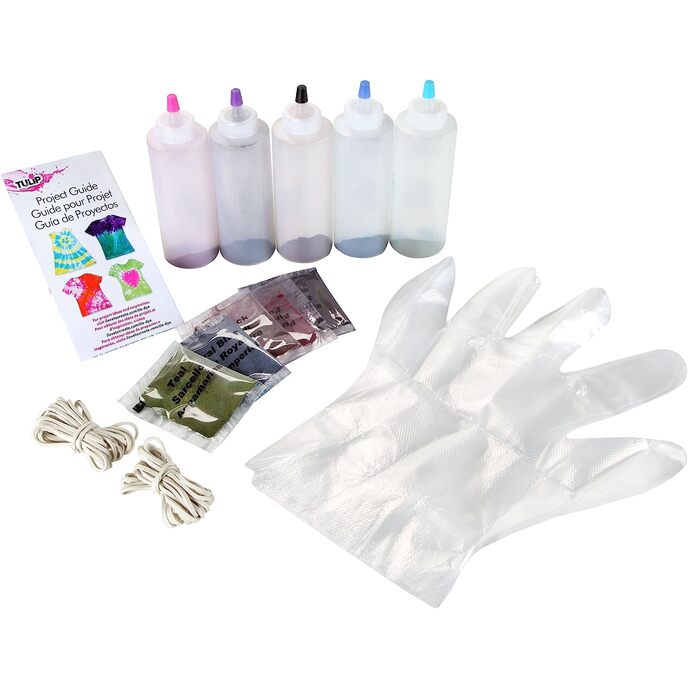
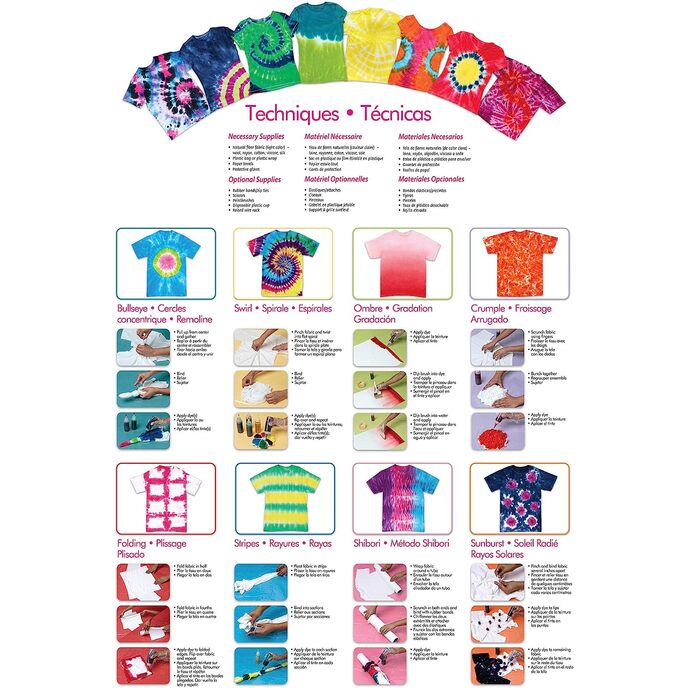
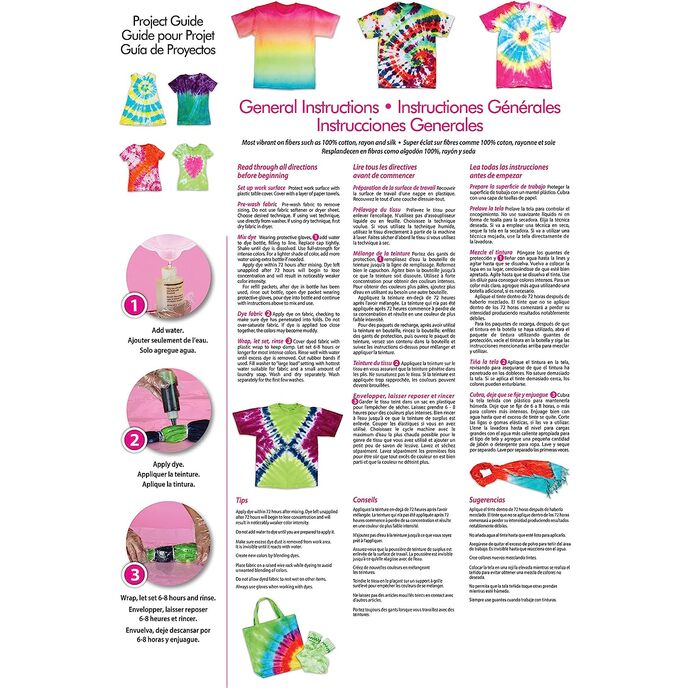
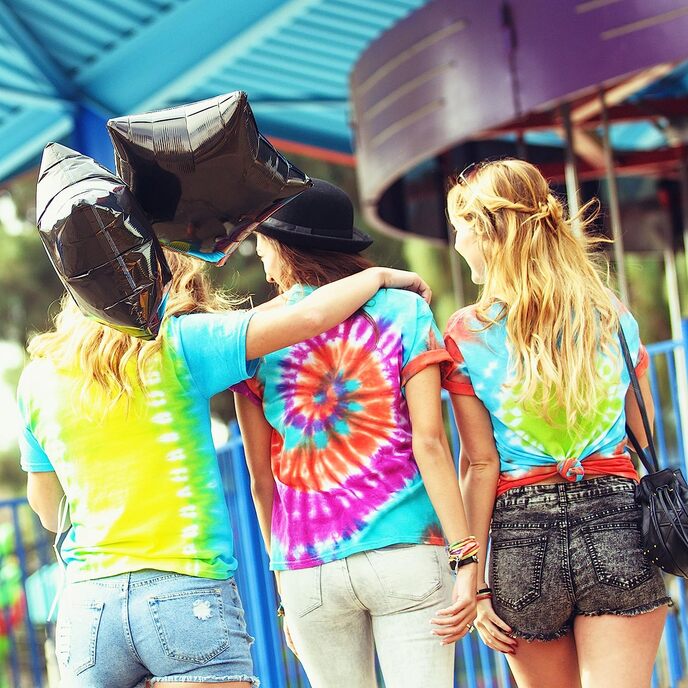
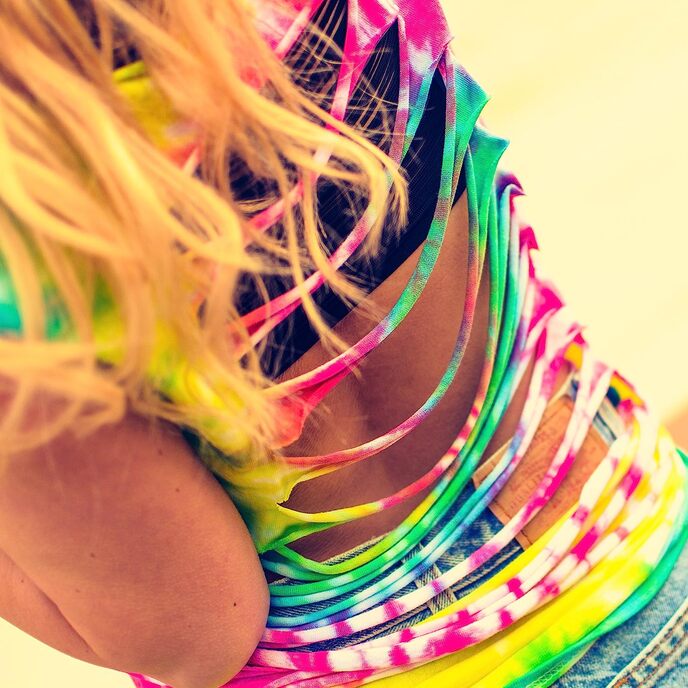
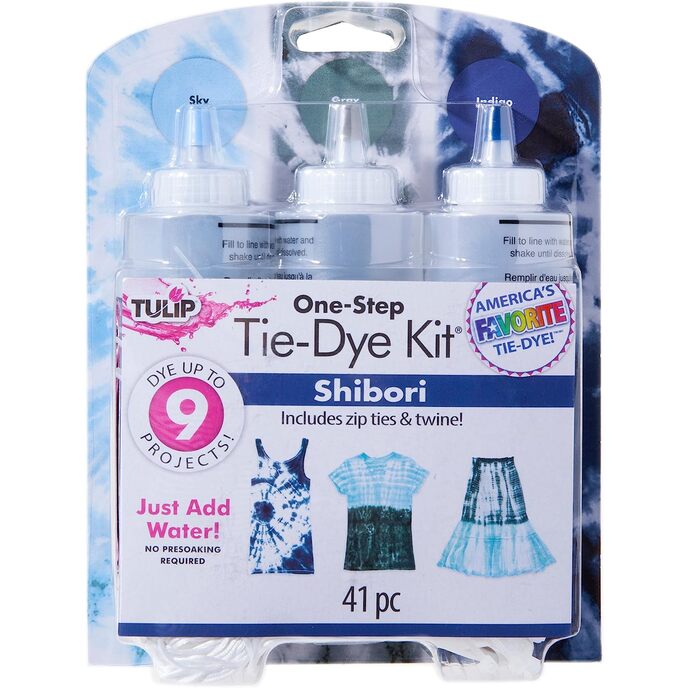
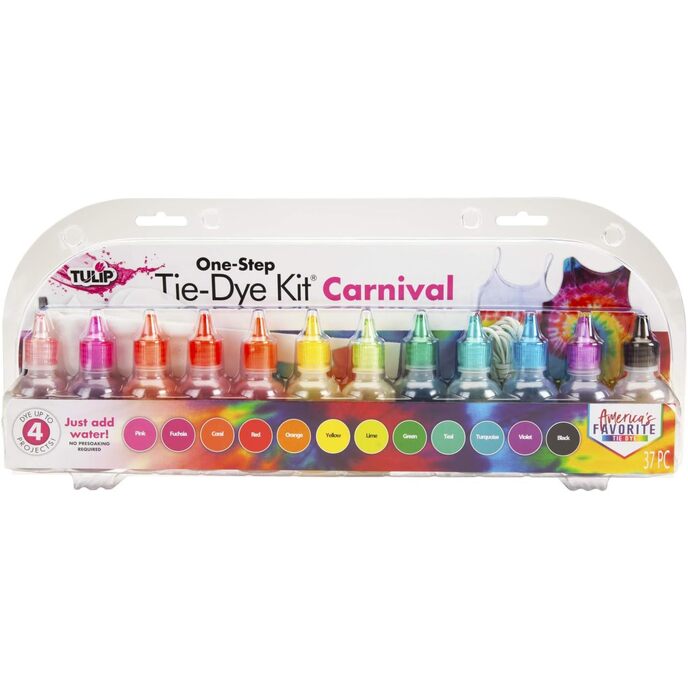
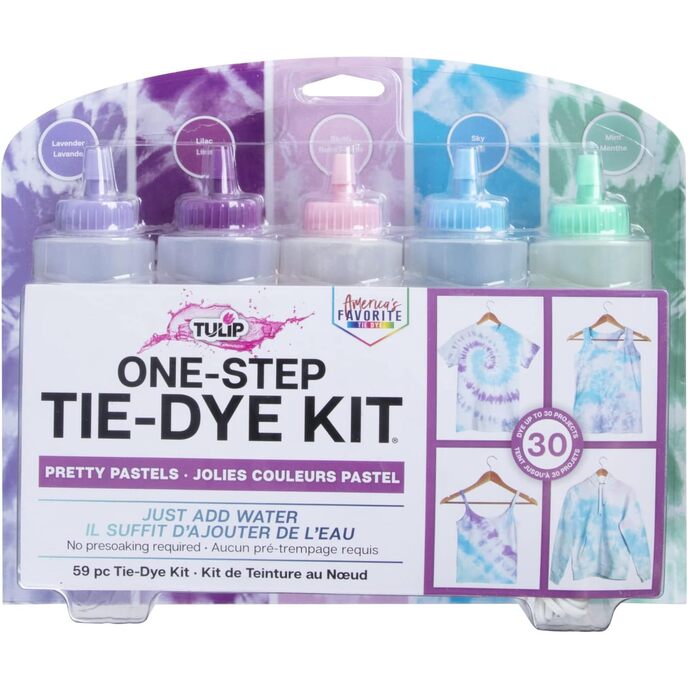
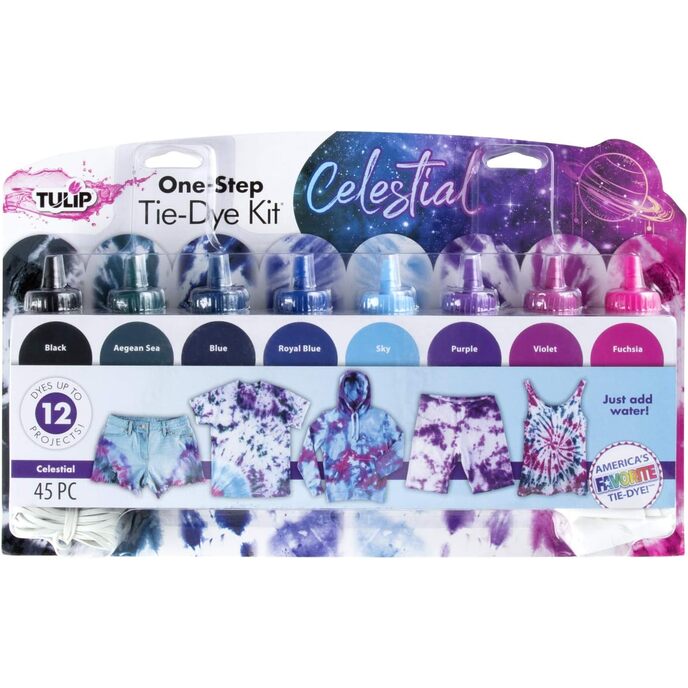
I love this kit! It was very easy to use and turned out to be a lot of fun. After the first kit, I bought several more to practice the art and share it with my friends through tie-dye parties. Having gone through 3 full kits (and made a few mistakes), I have some tips to share to maximize your success: Wondering what kit to buy? If you get just 1, I would recommend "carousel" because this has the darkest colors that give the most "vibrant" results. If you get 2 kits, "carousel" plus "rainbow" gives you 10 different colors, therefore the greatest choice when you are making your shirts. Unfortunately, you can only get orange if you buy the "luau" or "neon" kits. For some reason, the 5-bottle kits are the cheapest per gram of dye (cheaper than the refill kits that don't even have bottles). Wait for them to go on sale, the price on Amazon varies a lot from one week to the next. Can you really get 30 shirts from one kit? Yes. But they won't be 30 adult 2XL. And you have to plan ahead--use all of the colors in the kit, dilute some of the colors, and catch the drips in a basin to re-use. I usually dye a half-and-half mix of adult and child shirts together and end up with 30 from a full kit. Can you dilute the colors? Yes, some are very amenable to dilution. Some of the best looking items I have made are serial dilutions of just a single color. These colors tolerate dilution very well: black, purple, turquoise. These colors tolerate a modest amount of dilution: blue, fuchsia, violet, lime, royal blue. These colors don't dilute well (don't bother trying): red, orange, yellow, teal. I do the dilutions in glass jars and use a plastic funnel to get the dye back into the bottle. Best dye technique. Put the tip of the bottle in contact with the shirt before you squeeze. Put the tip in between the folds. After you think you are finished with the piece, check between the folds to make sure that you don't see white; if you do, go back and dye the insides of the folds. After wrapping in cling-wrap, squeeze the piece--this also reduces excess white. Dye should not be dripping off of the piece or staining your gloves--if so, you are using too much dye. Finishing the piece. The directions on the kit say to wait a couple of hours to let the dye set. This is not a good idea. If you only wait a couple of hours, you will lose most of your dye down the drain and you will be shocked at how light and faded your piece looks. Much better to use the basic principles of chemistry to your advantage: remember, time and concentration drive the reaction forward, so wait as long as you can, and then lay the piece out to dry without washing. I wait a week, then spread the pieces out on the lawn to dry in the sunlight. After that, I run the whole batch through the rinse cycle in the washing machine about 6-8 times (until the water looks clear), then line dry, then wash in a normal wash cycle (with soap). This way, the finished piece comes out almost as dark as when you dyed it. And you can skip the hand-rinsing that you see in a lot of YouTube newbie videos, that is just too painful and there is no advantage to it. Be creative and have fun! There are some very good YouTube videos to teach you how to do this, just hunt around, you will find them.